A YouTube transcript is one of the critical elements you need to have for your YouTube videos. Not only does it make your video accessible to a larger audience, but it also adds some excellent materials for your blog posts.
On the other hand, viewers love videos with transcripts because they can skim through the content and have reference material. This article will take you through everything you need to know about a YouTube transcript, including how to create one and view it.

What is a Video Transcript?
A transcript is a written form of video and audio content that is included in a video. It provides everything done or said in the video, including the dialogue, video sounds, and names of the speakers. The text is synchronized to move at the same speed as the video. Therefore, it is used to enhance the reach of your videos, improve SEO, and enhance user experience. In return, it's an essential element for jump-starting your YouTube channel.
Video transcripts go hand in hand with captions. Captions appear as text on the video screen when the video is playing. There are two categories of captions: closed and open. Open captions are always visible and cannot be turned off. On the other hand, closed captions allow viewers to turn them on and off. Viewers can also embed them in a video.
Transcripts can be created automatically by YouTube. However, the YouTube automated version may have errors, so creators often add them manually. The manual transcripts are significant, especially for videos with complex words or poor-quality voices. Therefore, a transcript is one of the elements of creating a great YouTube video.
Importance of Transcripts in YouTube Videos
Here are some benefits of having transcripts for YouTube videos:
Improves Video Accessibility
As noted earlier, the main aim of YouTube transcripts is to improve the video's accessibility. Remember that some of your viewers may be deaf or have hearing problems. Others may have difficulties understanding your accent or may be watching on a device without sound. You can easily reach your target audience by adding transcripts and captions to these videos.
Enhances Video Searchability
Studies indicate that videos with captions have 7% more visibility. If there is a particular part of the video that a user needs, they can search for it using a transcript. They can check on the transcript to find the exact part they want and simply click on it. Therefore, a transcript helps increase your YouTube views.
Improve SEO Ranking
Remember that search engine bots cannot crawl over video content. When you add transcripts, it becomes easier for them to understand what your video is about. Transcripts improve video SEO by increasing the amount of text that Google can index. Your visibility and SEO ranking can increase with relevant keywords in the document.
Better Video Comprehension
Not all YouTube videos have excellent audio quality. At times, the sound may be drowned by the background noise, or the embedded music may drown the voice, making it inaudible. At times, the viewers may be in an environment where they cannot listen to the video due to the surrounding noise, such as honking cars, banging doors, etc.
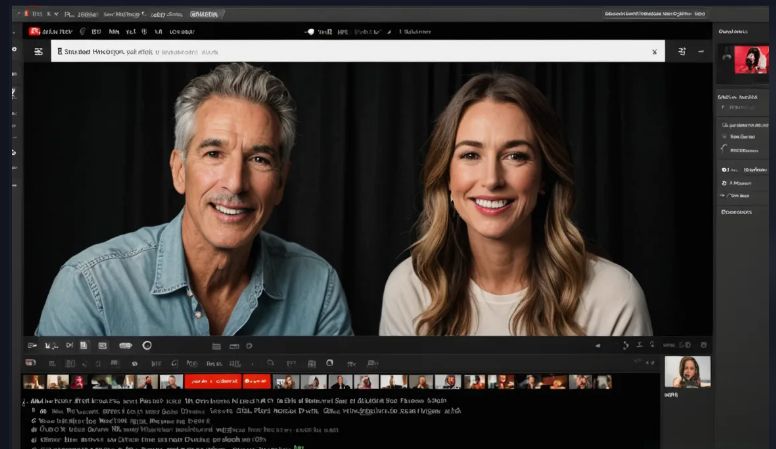
Transcripts make it easier for viewers to follow and comprehend a video better. If a part isn't very clear, they can click on it and read it out. This also helps the audience understand technical terms that are hard to pronounce or website links.
Better User Experience
Video transcripts are among the basics of YouTube as they enhance user experience because the viewer has more content consumption options. They can watch the content, read the transcript, or both. They can follow every part of the video without missing an audible part. Some YouTube users prefer reading the content instead of watching it. YouTube transcripts also cater to such viewers.
How to View the Transcript of a YouTube Video
To view the transcript of a video, here are the steps you need to follow:
Search for the video
As you would guess, you need to open YouTube and search for the video you need a transcript of. Take note that you can only see the transcript if the owner of the video has turned on the Closed caption. Fortunately, most educational videos, professional content, and lectures often enable closed captions.
Click on the video description
On the right side of the video, you will see different options, such as download or share. You will also see three dots. Click on them and then choose More.
Click “show transcript”
You will see a drop-down menu with different options, including Show Transcript. This is where you will see the text version of the video.
Select language
You will see the transcript located on the video's left side. If the video was auto-generated by YouTube, it works in multiple languages. You only need to select your language to see the transcript in your preferred language.
Download the transcript
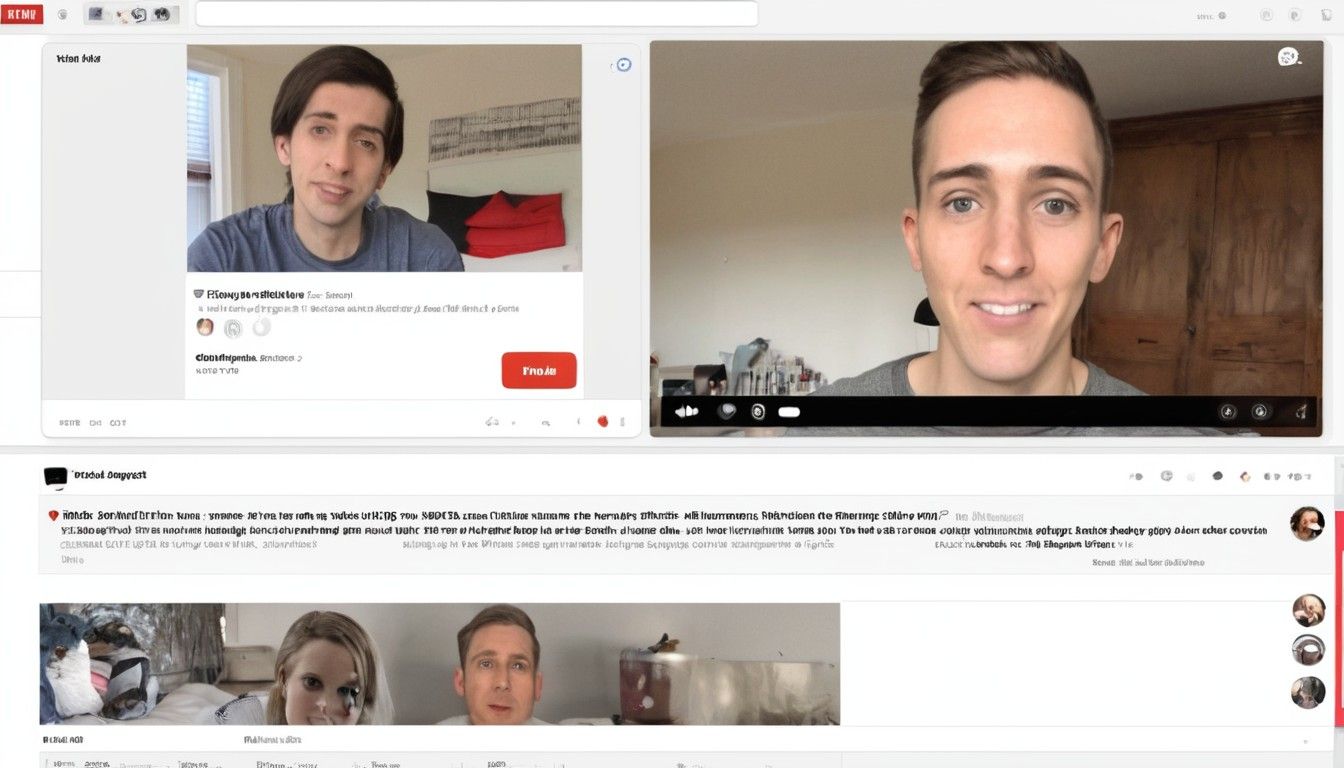
Since it's not your video, you will be limited in what you can do with the transcript. For instance,you will not have the option to download it or even adjust the timestamp. Instead, you can only toggle the timestamp on and off instead of downloading. To save the transcript, copy-paste it into an MS Word or Google Doc. However, the pasted transcript won't look very good, and you need to do some formatting.
How to View a YouTube Transcript on a Mobile Device
How you view a transcript on a mobile device differs from how you view it on a PC. Since there is no option to open the transcript panel next to the video screen, it can be hard to read or copy-paste the text as you do on a desktop. However, activating the Closed captioning feature on a mobile device is still possible. Here are the steps to follow when doing that:
- Open YouTube on a mobile phone or tablet.
- Find your preferred video and go through the transcript.
- Check the right-hand corner of the video and tap on the three dots.
- On the drop-down menu, select Caption, and choose the language you prefer. The default language is usually English, which will already be turned on.
- To close the caption menu, tap on any other part of the YouTube screen.
- You will now have enabled the Caption. When you play the video, you will see the accompanying text on the screen.
How to Create a YouTube Video Transcript
There are different ways in which you can create a video transcript. The easiest way of doing that is by leaving the work to YouTube to do the transcript. However, you must still add captions to your video file before uploading them to YouTube.
This will help improve the accuracy of the transcript. Failure to do so will mean that YouTube will auto-generate captions for the transcriptions. While this method is the easiest, the result may not be the best. Therefore, it's essential to review the results and make corrections before publishing your video.
Hire a transcriber
Another option that will provide you with better results than the auto-generated transcripts is hiring a professional transcriber. However, the downside of this method is that it is usually more expensive. A professional transcriber can cost between $1 and $3 per audio minute. However, you may also find a few service providers charging less than a dollar.
The good part of this method is that you get an accurate, human-checked transcript to upload to your YouTube channel. The transcriber can also provide you with the file in your preferred format, making it easy to upload to YouTube. Here are the steps to follow when uploading your transcript to YouTube:
- Go to YouTube Studio and select the video you want to add captions.
- Tap on the Subtitle tab.
- Select Upload file. Choose if you are uploading a transcript file or a subtitle file.
- After you have chosen the file from your PC, review and edit the file transcription text. Check if it matches the video timing and change it where necessary.
- You can also change your caption's color, text, and size.
- Once you are done with everything, click on Publish.
How to Optimize Your Captions and Transcripts
Remember that you will need to do more than add captions and transcripts for the best engagement results. You should also ensure that your transcript and caption are optimized for your audience and SEO. Some of the ways of doing that are by:
- Using clear language.
- Using the relevant keywords and the proper keyword density.
- Using descriptive titles, headings, and subheadings. This will help you improve readability.
- Format the transcript with HTML tags.
- Use a table of contents where necessary.
- Use the correct grammar.
How to View YouTube Transcripts as Closed Captions
You will have three screen options when watching your favorite video on YouTube. These are Full-screen, Mini-player, or Theater Mode. While full screen will provide you with a great viewing experience, unfortunately, you will not have the option to see the transcript.
To overcome this challenge, you should activate the closed video captions. Follow the following steps to see the text on your video screen:
- Open YouTube from your PC browser.
- Open the video you want to watch.
- Go to the bottom right corner of your favorite video. There, you will see several buttons such as AutoPlay, Settings (marked by a gear icon), Subtitles/Closed captions, Theatre Mode, and Full Screen. You should click on the gear icon.
- A pullup menu will appear. Click on CC/Subtitles.
- Choose English(Auto Generated)
- To leave the screen, click on any other part of YouTube.
How Do You Set All Videos to Show the Transcript?
If you don't want to keep enabling the closed option for every video, you can set your channel to the default setting, meaning all videos automatically come with transcripts. Here are the steps to follow to enable you to do that:
- Follow the first and second steps above when viewing the YouTube transcript.
- On your YouTube channel, click on the profile photo in the right-hand corner.
- A drop-down menu will appear. Click on Settings.
- You will be taken to a new page. On the left side menu, click on Playback and Performances.
- Choose Subtitles & Closed Captions. You will see a box labeled, Always Show Subtitle. Check it.
- Close the Page and restart your channel. You will begin to see the caption in all your videos.
Using Google Docs to Transcribe Your YouTube Video
Many YouTubers don't know that they can transcribe their YouTube files using Google Docs. This is possible because Google Docs has an audio transcribing feature that works like the speech-to-text feature on MS Word. However, Google Docs is more effective than using Ms. Word.
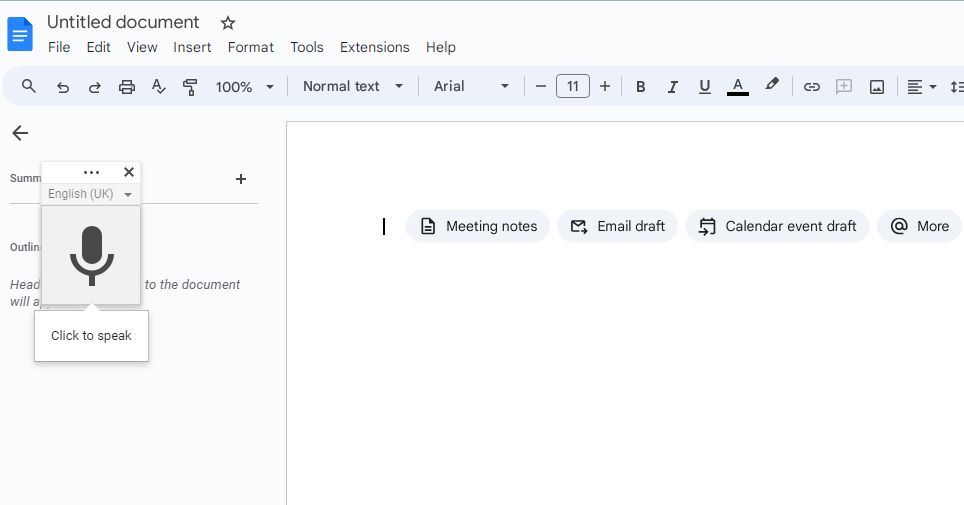
If a YouTube video doesn't have an embedded script, here are ways to transcribe it.
- Log into your Gmail account using Chrome on a PC or mobile device.
- Tap on your Google account and open Google Docs from the apps.
- Under the menu bar at the top, click on Tools. A drop-down menu will appear. Click on Voice Typing. Alternatively, click Ctrl+Shift+S on a blank Google doc to open the voice typing feature.
- A new pane with a small microphone will be created on the left side of the document.
- On your Chrome browser, open a new tab and go to the YouTube video for which you need a transcript.
- Go back to the Google doc. On the microphone, you will see an option labeled Click to Speak.
- Again, go to the video you want to transcribe and click on Play. Google Docs will start recording the transcript on the video.
- Once the video has ended, your transcript will also be ready.
Note that this method of transcribing your YouTube videos may also have errors. You can also set up Google Docs to translate the YouTube video if need be.
Conclusion
Adding a transcript to a YouTube video will help with user experience. This will result in a higher number of views and engagement. By following our guide, it should be easy to add and view YouTube transcripts. You can then use the information to grow your channel and increase your YouTube subscribers.