Are you interested in live streaming, video games, chatting with others, or even starting a career in gaming? If the answer is yes, Twitch is the perfect platform for you. A platform that leads the game community, social video platforms, streaming and video game culture. There are 140 million monthly active users on Twitch, giving you the opportunity to build a strong audience, display your gaming skills and gain cult following, or maybe just to connect with others. To get to all of this, you need a Twitch account first.
How Do I Set Up A Twitch Account?
Setting up a Twitch account does not mean just creating the account. If you want to get the most out of the platform, you need to be aware of the follow up steps as well.
Step 1: Create Account
To start using Twitch, you first have to create an account. Start by installing the Twitch app or going to the website directly. Then click on the "sign up" button, located on the top right corner. Then provide all of your personal details, like usernames, email addresses, and passwords. For an easy shortcut, you can also use your Google or Facebook account. In that case, make sure they are fully set up and does not look spammy.
Step 2: Verify Your Account
After successfully creating your Twitch account, you now have to verify it for safety purposes. It's a relatively simple process, that you've probably done on a lot of other platforms. You will get a link in your email that sent by Twitch. First, go to the email inbox that you used for your Twitch account sign-up. Now, look, there will be an email from Twitch with the subject "Verify your email address for Twitch." By opening the email, you will see that there will be a verification link and by clicking the link, you will be directed to your newly created Twitch account.
For your personal security, verifying your account is a very important step. Verifying your account will help ensure that, first, you are a real person and not a scammer. It will also help Twitch to maintain a safe and secure platform for its users. It's also a shortcut to getting your account back in case if it ever gets suspended or restricted.
Step 3: Set Up Your Profile
An attractive profile is all you need to attract viewers and build a strong community. Below are some tips for customizing your Twitch account:
- Profile Picture: A perfect picture will be the first priority for your profile, unless you are okay with looking spam-y. People will see your picture when they first visit your account. If you are uncomfortable with putting up the real picture of your face, you can use different kinds of visuals, like a photo of your favorite game character, a logo, and an image that is related to your content.
- Bio: A bio is a short description that will also be part of your representation of who you are and what you do. You can use this as an opportunity to introduce yourself to the viewers and give them a short idea about your work. You have to make your bio as short or as long as you want, just explain to your viewers why they should come see your content.
- Add your social media accounts link: Don't forget to link your other social media to your Twitch account. This will help your viewers find you outside of Twitch, (include links Like Twitter, Instagram, YouTube, or Facebook).
- Customize Your Channel Panels: This is a customizable section, that will allow you to display all your information about your stream, your FAQ, a schedule of your livestreams, and your donation information. Use all these panels to showcase your brand by providing all the important information about your stream to your viewers.
- Choose Your Color Scheme: Like other social media, Twitch also allows you to choose a color scheme for your own channel. Color helps reflect your brand and content. Decide on what you want to look like to others initially, then select that color. You can always rebrand yourself later on.
Step 4: Set up your streaming software
Streaming will help you generate a strong community with loyal viewers. Before you start streaming, you need a reliable streaming software. Two popular options are OBS Studio (Open Broadcaster Software) and Streamlabs, and both are free. These tools will allow you to capture your screen, camera, microphone or whatever other set up you have, and broadcast them onto your Twitch channel. Install your ideal streaming software, open it, and go to the settings. You will just need to set the frame rate, resolution, and other settings that will work best for your computer and internet connection. Once your first streams are up, you can also order Twitch followers.
Step 5: Connect Your Twitch Account to the Streaming Software
Connect your account to your streaming software. In the software of your choice, go to "Settings" and click on a "Stream" option. You need a stream key to start your streaming. To find your streaming key, go to your Twitch dashboard, "Settings," and then click on "Stream." Just copy and paste it into your streaming software.
Step 6: Test Your Stream
For beginners, testing is essential before starting a stream to ensure everything is working fine. You just have to open your streaming software and click on the "Start Streaming" button. After a few seconds, your stream will start broadcasting to your Twitch channel. Just check your stream for any kind of issue, such as low-quality audio or video or if a lag/glitch is occurring. If there are no issues, you can start streaming.
Step 7: Promote Your Stream
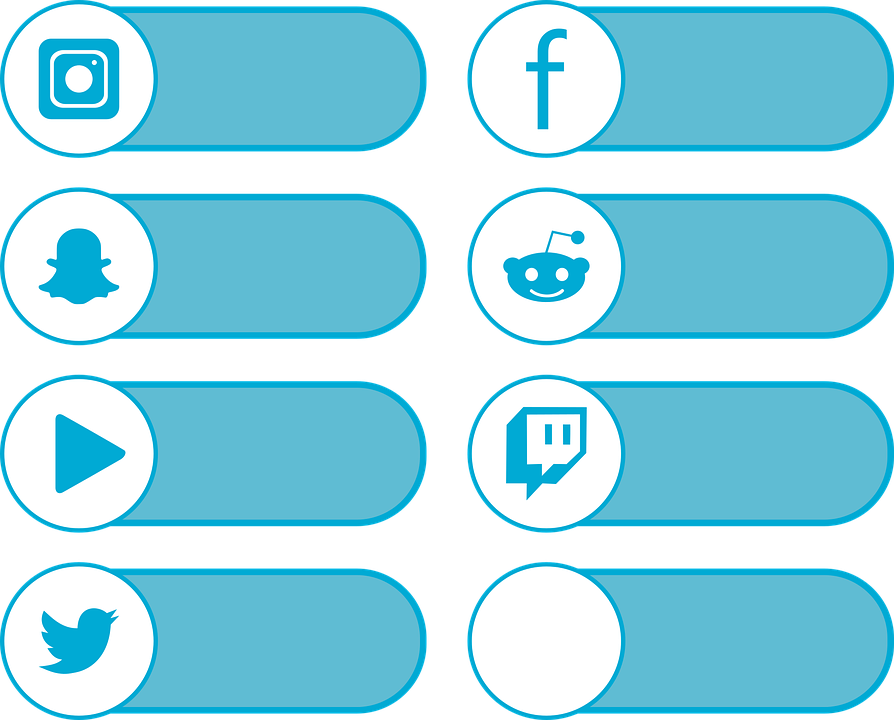
After starting your streams, think about the ways to promote them in order to attract viewers. There are several ways to do this. One such way (the most obvious one) is through social media. You also can get help from Twitch communities and other platforms, like a Discord or Reddit. Joining Twitch communities that are related to your content will help you connect with other streamers and viewers interested in what you have to offer. In addition, using hashtags on social media can help you reach to a wider audience.
Step 8: Connect With your Viewers
Connecting with your viewers is the key to building a strong community on Twitch. Make sure to respond to comments, answer all the questions, and engage with the audience. It's really important to create a positive and welcoming environment for your viewers. Make them feel like you really appreciate them, even if they do not donate anything. If you create the environment they like, donations will come to you in no time. Don't be rude or offensive, as Twitch bans such streamers quite promptly.
Step 9: Grow Your Channel
Growing a channel is a very lengthy process. It will take a lot of time and effort to grow a channel. After all the above steps are completed, you have to just wait and try more with the promotion of your content. Without a strong following, monetization will be hard. Especially if you think about making Twitch streaming your main mean of income. You can try participating in on or offline Twitch events to grow your channel. Additionally, engaging with your viewers by asking them for feedback can help you improve your content and attract more viewers.
Conclusion
Setting up a Twitch account is an easy process that can be completed in just a few steps. As a beginner, you just have to follow the above mentioned technicalities to the T to have your channel. Make sure you have necessary equipment if you want to become a pro streamer. An expensive mic or a professional video camera are not necessary. These thinsg will come in time. Your iphone could do the work just fine. Marketing your Twitch channel is more important. Try being as active as possible by featuring yourself and your channel in as many on or offline relevant activities as possible. Happy streaming!