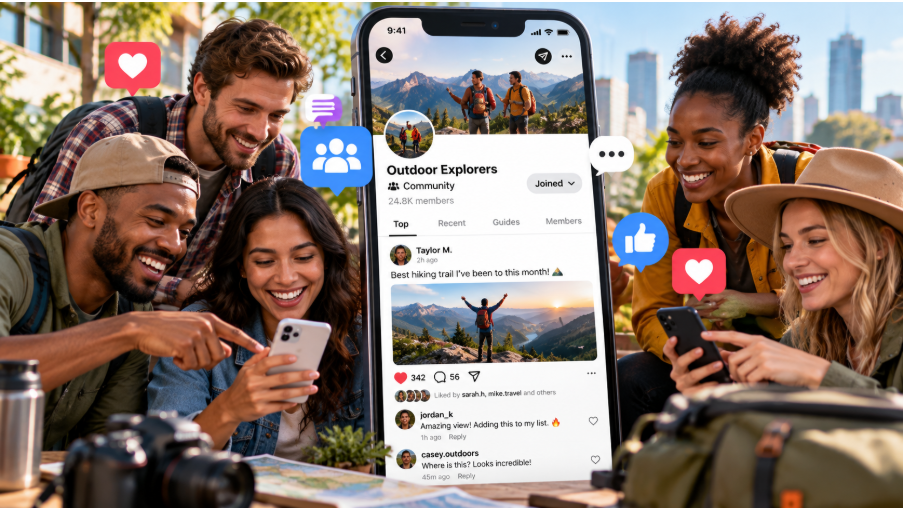

Creating a private Facebook group helps build a focused community where content is only visible to selected members. This format is useful for classes, clients, teams or interest based communities that need privacy.
How to open a group
Begin on the Facebook home page and look for the Groups section in the main menu on desktop or under the Menu tab in the mobile app. Select Groups to see the option to create a new group. Click or tap the Create or + Create Group button at the top of the Groups section. A setup window appears where the basic group details can be entered before it is published.
Name & members system
Enter a clear group name that reflects the topic or purpose so potential members understand what to expect. Add at least one initial member by typing a name or email from existing Facebook connections.
Privacy of the group
In the privacy section select the Private option so only members can see posts and the member list. For private groups there is a second choice between Visible and Hidden which controls whether the group appears in Facebook search results. Choose Visible if discovery through search is desired while keeping posts restricted to members. Choose Hidden if the community should be invitation only with no public trace in search or recommendations.
Final touch
Review the name, member list, privacy and visibility settings then click Create to publish the group. The group appears in the personal Groups list and members receive notifications or invitations based on how they were added. After creation, upload a cover photo that represents the topic and add a description that explains rules and goals. Admin tools also allow setting membership questions, approving posts and assigning moderators to help manage activity. Use clear membership rules to keep the community focused and to reduce spam. Regular posts, welcome messages and prompts encourage engagement while keeping discussions aligned with the group purpose.